Renovating an older Northern home can expose surprises you cannot see from listing photos or walk-throughs. Cold winters, ice dams, and decades of small fixes leave clues in places you only reach after demolition. Getting the sequence right prevents rework, protects finishes, and helps inspectors sign off without delays. This article lays out a practical order of operations for whole-home remodels in cold climates, including details such as where plumbing should run to avoid freezing, when to air-seal before insulation, and how shower waterproofing ties into drywall timing. Follow the sequence, and the right details will land in the right order.
Open the House and Diagnose Hidden Conditions
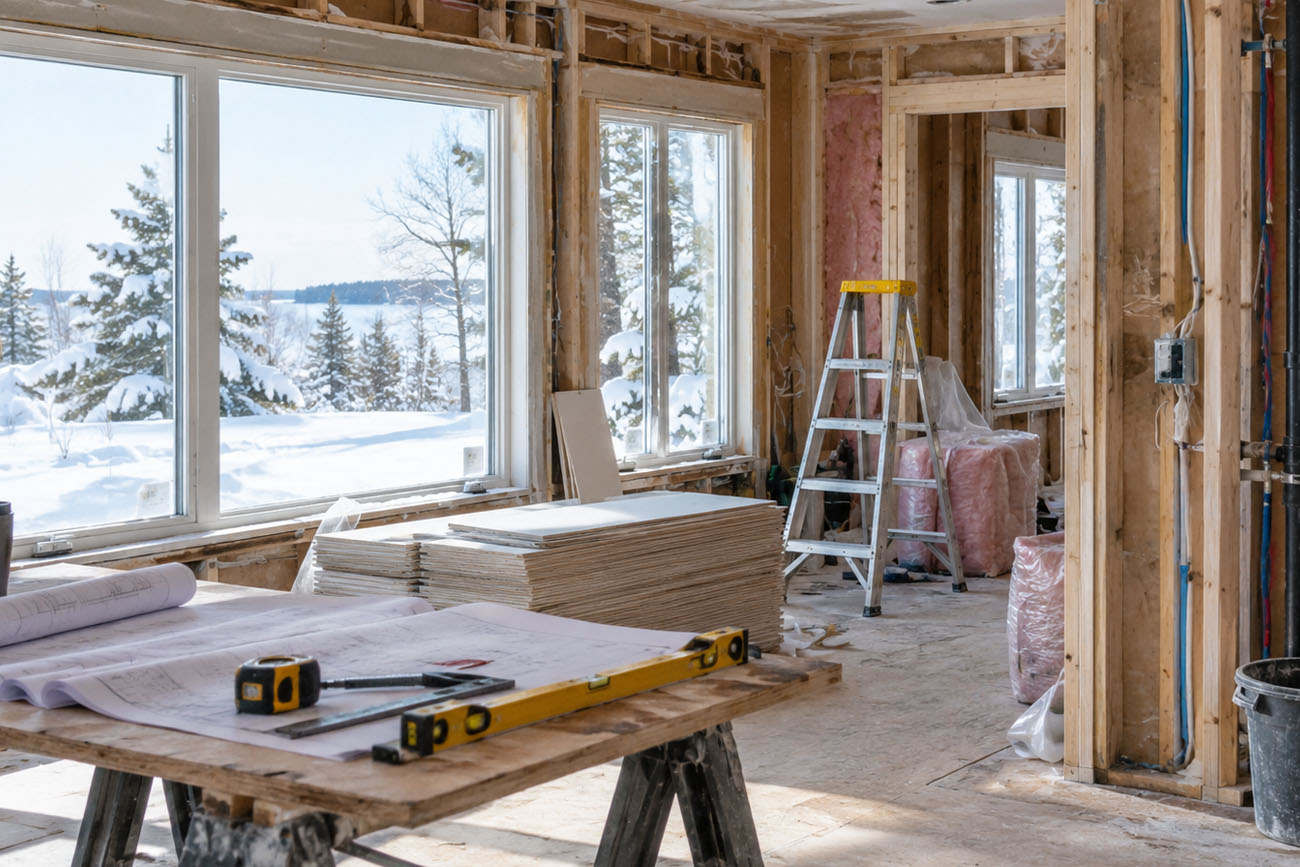
Start with targeted demolition to expose framing, the attic side of the top plates, rim joists, subfloors, and the main drain line. Before you pull the first sheet of plaster or drywall, shut off the water at the main, verify access to the gas shutoff, and plan for temporary heat if the furnace must be off. If the scope or structural implications are unclear, a licensed home renovation contractor in Duluth can help arrange a structural evaluation and coordinate permit steps so that demo aligns with inspection requirements.
Use the open access to trace moisture and movement. Look for dark staining on the roof decking from past ice dams, rot at the sill plate, bowed foundation walls, or efflorescence that marks seasonal seepage. A moisture meter and an infrared camera can confirm damp corners or cold air leaks around penetrations. In one realistic scenario, a 1920s basement with a musty smell turned out to have clogged gutters and back-pitched grading; addressing exterior drainage first prevented future water from reaching the new studs and insulation. Skipping this diagnostic stage is a common mistake that leads to repainting, retiling, or replacing swollen baseboards later.
Structure Before Layout: Framing, Subfloors, and Openings
With conditions known, correct the structure before you lock in the new layout. Identify load paths and add an LVL beam or properly sized header when removing a bearing wall. Sister sagging joists, replace a soft rim joist, and add blocking to support future loads such as wall-hung vanities and grab bars. Flatten floors now by shimming or using self-leveling underlayment; tile needs a flat substrate, and engineered wood needs a tight fastener bite on a sound subfloor. If you are changing window sizes or adding a patio door, cut new rough openings and set proper flashing while the area is still wide open.
Expect trade-offs when widening spaces. Opening a kitchen to the dining room can run headlong into a plumbing stack or supply ducts. In a typical example, the wall you plan to remove supports joists and a bathroom drain; the fix is temporary shoring, an engineered beam sized to span the opening, and rerouting the stack with long-sweep fittings to maintain the drain slope. Doing this framing work first preserves the pathways that plumbers, electricians, and HVAC installers need for clean rough-ins.
Rough-In That Resists Freeze and Condensation
Run plumbing, electrical, and HVAC with cold-climate priorities in mind. Keep water lines out of exterior walls when possible; route PEX through interior chases and home-run to a manifold for fewer hidden connections. Maintain the drain-waste-vent slope and include cleanouts at every turn. Set shutoff valves at sinks and toilets, and install a pan and drain under second-floor washers. On the electrical side, confirm panel capacity, add dedicated circuits for appliances, and use AFCI and GFCI protection where required. Prewire for low-voltage runs while walls are open. For HVAC, plan duct routes to avoid compressing flex duct, include supply and return placement for room balance, and size an HRV or ERV if you are tightening the envelope. If you want recessed lighting, choose IC-rated, airtight housings and air-seal around them to prevent warm air from reaching a cold attic.
Bathrooms and kitchens call for extra care. Picture a small bath over an unheated porch: the floor cavity needs a continuous air barrier on the cold side, insulation fully in contact with that barrier, a heat supply to the room, and the drain trap kept in conditioned space. Simply packing fiberglass into a leaky cavity is a proven failure point: air moves, the insulation does not perform as rated, and pipes can freeze. Vent bath fans to the outside with insulated ducting and a proper backdraft damper to reduce condensation in the ceiling.
Air-Seal and Insulate Before Drywall
Air sealing is the cold-climate step that often gets skipped, yet it is critical to comfort and moisture control. Seal top plates at the attic with foam or acoustical sealant, spray-foam the rim joist, and caulk or gasket plumbing and wire penetrations. Tape exterior sheathing seams if accessible from a gut rehab, then install a continuous interior air barrier. In many retrofits, a smart vapor retarder behind drywall helps the wall dry toward the interior in summer while limiting vapor in winter. Box out can lights, seal around bath fan housings, and terminate fans with rigid or well-supported duct to the exterior.
Insulation choice is a real trade-off. Closed-cell spray foam offers a high R-value per inch and serves as an air- and vapor-control layer, which is useful in thin cavities or at the rim joist. Dense-pack cellulose or mineral wool, combined with meticulous air sealing and a smart membrane, can be more affordable and allow drying, but they require greater attention to continuity. If timing allows, schedule a mid-project blower-door test; finding a major leak now is far cheaper than after painting. In winter, confirm product temperature and cure requirements so foam, caulk, and compounds bond correctly.
Close-In, Wet-Area Waterproofing, and Finishes Without Rework
Once rough-ins pass inspection and the envelope is sealed and insulated, hang drywall and set up wet-area substrates. Use moisture-resistant drywall only where appropriate, and use cement backer board or foam board in showers. Waterproof the shower with a continuous system, either a liquid-applied membrane or a bonded sheet membrane, lapping seams per manufacturer instructions. Pre-slope the pan toward the drain, then perform a flood test before tiling. Add solid blocking for shower doors, grab bars, and vanities while walls are open, and build niches with the same waterproof layer as the rest of the shower to avoid weak spots.
Install flooring after the messy work. Acclimate hardwood or engineered planks as specified, verify subfloor flatness for tile, and consider an uncoupling membrane to reduce crack transfer. Leave expansion gaps at the perimeter and undercut casing for a clean look. Set cabinets and scribe them to out-of-plumb walls before final trim; some installers prefer flooring under the cabinets for appliance clearance, while others run planks to the toe-kick to simplify later repairs. Protect new finishes with floor protection and edge guards during the punch list. Commission the HVAC, balance the ERV or HRV, set bath fan timers or humidity controls, and label shutoffs. A careful final cleaning of ducts and filters, plus a quick recaulking of any early-set joints after the first heat cycle, helps the renovation settle in without callbacks.