A burst supply line, an overflowing dishwasher, or a slow leak under a sink can soak drywall, baseboards, flooring, and insulation long before anyone notices. In the rush to stop the water and start drying, homeowners often face a tough call: what can be saved with targeted drying, and what should be removed to prevent lingering moisture and odor problems. The right answer depends on what kind of water you are dealing with, how quickly you respond, and which materials are affected. This guide explains the key factors, common pitfalls, and realistic scenarios that shape dry-in-place versus demolition decisions, so you can protect your home while avoiding avoidable tear-out.
Contamination Level Drives What Must Be Removed
The water category determines the baseline. Category 1 water, such as a recent break in a cold-water supply line, can often support dry-in-place strategies for semi-porous materials if addressed within the first day. Category 2 water from appliances or bath overflows contains soaps, food soils, or skin oils that raise sanitation concerns and often require removal of materials such as carpet pad and MDF baseboards. Category 3 water includes toilet backups, floodwater from outdoors, and long-standing stagnant water, which typically mandates removal of porous items. If you are comparing options for Portland water cleanup services after a dishwasher overflow, ask how technicians determine the category and which materials they would remove versus dry.
Even with cleaner water, time matters. Clean water that sits for two to three days can support microbial growth, pushing a once salvageable drywall base section into removal territory. Sewage or river intrusion changes the plan immediately: carpet pad, insulation, particleboard subflooring, and tack strips are discarded, and structural cavities are opened so contaminated surfaces can be disinfected and dried thoroughly.
Material-by-Material: What Usually Saves and What Fails
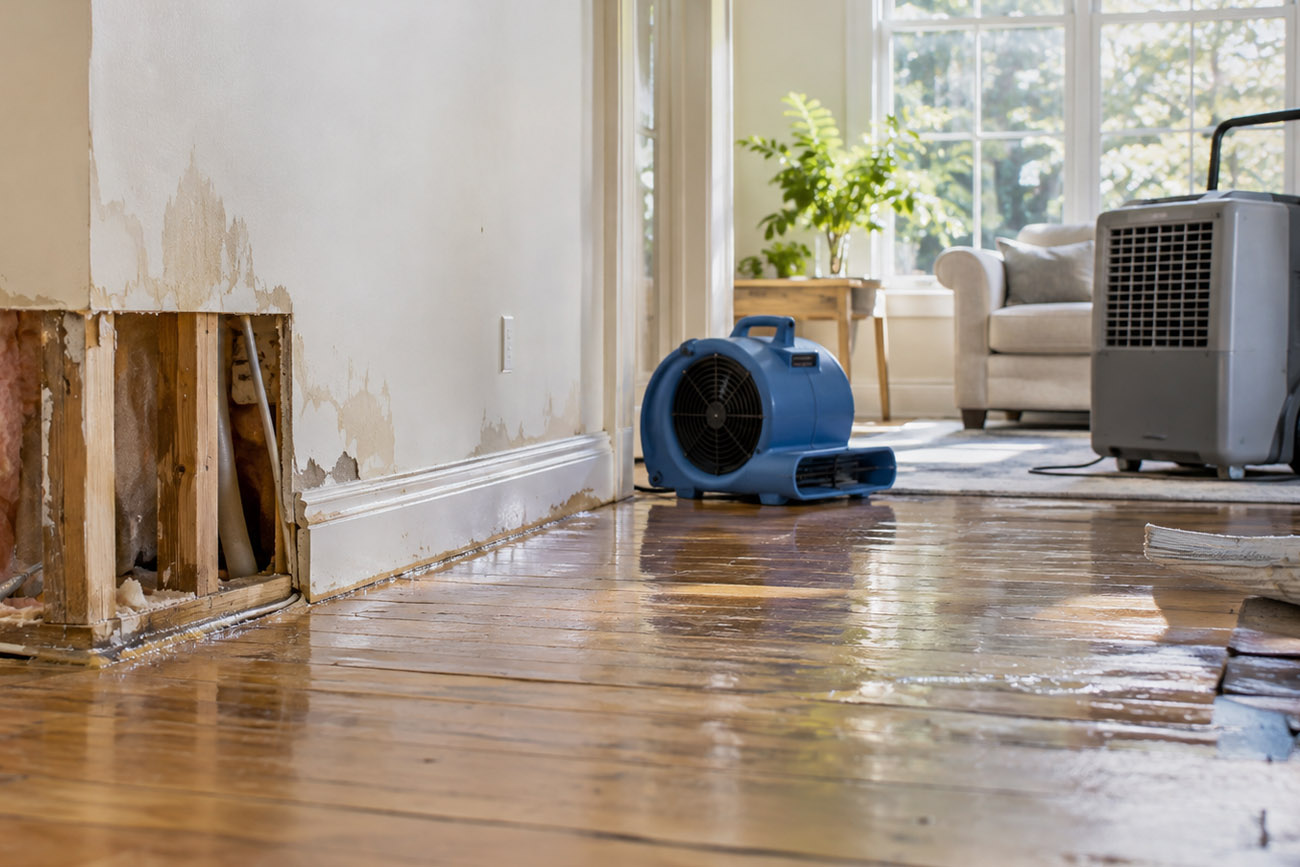
Drywall and insulation behave differently. A small leak that wets drywall only at the base can sometimes be saved by removing baseboards, drilling small weep holes at the bottom edge, and drying with air movers and dehumidifiers while monitoring with a pin meter. If fiberglass insulation behind the drywall is saturated, it generally comes out; it holds moisture and slows the drying of studs and sheathing. MDF baseboards tend to swell and crumble, while wood baseboards can sometimes be heat-dried, sanded, and repainted if swelling is minimal.
Flooring decisions hinge on construction. Laminate planks and particleboard underlayments delaminate and cup quickly, so they are usually removed once swollen. Engineered hardwood can occasionally be saved if cupping is shallow and the subfloor reads dry on a moisture meter, but heavy cupping or separation at the tongue-and-groove often means replacement. Carpet can often be restored if the water is clean and the carpet itself has not stretched, but the pad is almost always replaced because it traps moisture. Tack strips along walls, especially on concrete slabs, can harbor contamination and may need to be replaced. Vinyl and luxury vinyl plank are water-resistant, yet moisture can become trapped beneath them, so perimeter or selective removal may be needed to dry the subfloor.
What the First 24 to 48 Hours Change
Moisture moves. Capillary action wicks water up into drywall several inches above the visible line, and vapor pressure drives moisture into cool cavities, such as exterior walls or behind cabinets. Fans without dehumidifiers raise the room’s humidity and can push moisture into unaffected rooms, so combine directed airflow with a properly sized dehumidifier and keep doors and windows closed to create a controlled drying chamber. On the first day, you may be able to dry a toe-kick area under cabinets by drilling small holes in the kick plate and using a manifold system; by day three, swollen particleboard cabinet bases may force removal. Watch for secondary damage, such as hardwood cupping or ceiling condensation, when warm, moist air meets a cooler surface.
Measure Before You Cut: Tools That Inform Scope
Guessing leads to over- or under-demolition. A pin-type moisture meter can measure the moisture content of studs, sill plates, and drywall paper at specific depths, while a non-invasive meter is useful for tile or vinyl when you want a quick comparative scan. Thermal imaging can reveal cold, damp zones behind paint or under cabinets, guiding where to open small inspection holes rather than large sections. A hygrometer tracks ambient relative humidity and temperature to confirm that drying conditions are improving. Together, these tools help define a clean, efficient scope: for example, cutting drywall to 12 inches when readings show a dry line at 8 inches, or removing only the first two rows of laminate to vent a wet OSB subfloor.
Limited Demo Versus Full Tear-Out: Trade-Offs and Real Scenarios
Every cut has a cost. Limited demo preserves finishes and reduces reconstruction time, but it requires tight containment, diligent meter readings, and more equipment hours to move air into hidden spaces. A full tear-out provides direct access for disinfection and rapid drying of the framing, yet it increases debris handling, dust-control needs, and the time and budget required for rebuilding. Consider two examples. In a laundry room, a supply-line break discovered within hours, removing the wet pad and a strip of baseboard, floating the carpet with air movers, and running a dehumidifier can restore the space with minimal repairs. In a first-floor toilet backup that soaked the wall-to-wall carpet and particleboard vanity base, plan for carpet and pad disposal, cutting out lower drywall, and replacing the vanity base to remove contamination.
Cabinets illustrate the trade-off clearly. Drying in place through toe-kick holes, with an air injection system and contained airflow, can save custom uppers and stone countertops when only the base area is damp. If thermal imaging shows moisture trapped behind the cabinet backs or the base has swollen, removal can prevent long-term odor and hidden decay. Whichever route you take, manage dust with plastic sheeting and negative air when cutting, and bag debris promptly to prevent tracking contaminated dust into clean rooms.
After drying, plan for surfaces and air. Disinfect hard, non-porous materials according to label directions, then HEPA-vacuum dust from crevices and cavities. Prime stained or musty drywall edges with an odor-sealing primer once readings confirm the material meets dry standards, and only reinstall baseboards after both the wall and trim test dry with a meter. Replace the carpet pad with one of comparable thickness, stretch the carpet correctly to avoid ripples, and verify the subfloor moisture content before laying wood or laminate to prevent future cupping. Finally, consider short-term air scrubbing with a HEPA unit during demolition and early drying to reduce airborne particulates released when materials are disturbed.
Making the dry-or-demo call is less about guesswork and more about water category, time since the loss, and how specific materials behave. Use meters and thermal imaging to set clear boundaries, and pair airflow with dehumidification to stop wicking before it climbs. When contamination or swelling crosses the line, targeted demolition protects what matters and speeds a clean rebuild. With a measured approach that documents readings and checks hidden cavities, you can limit disruption while avoiding the common mistake of drying what should be removed or tearing out what could have been saved.