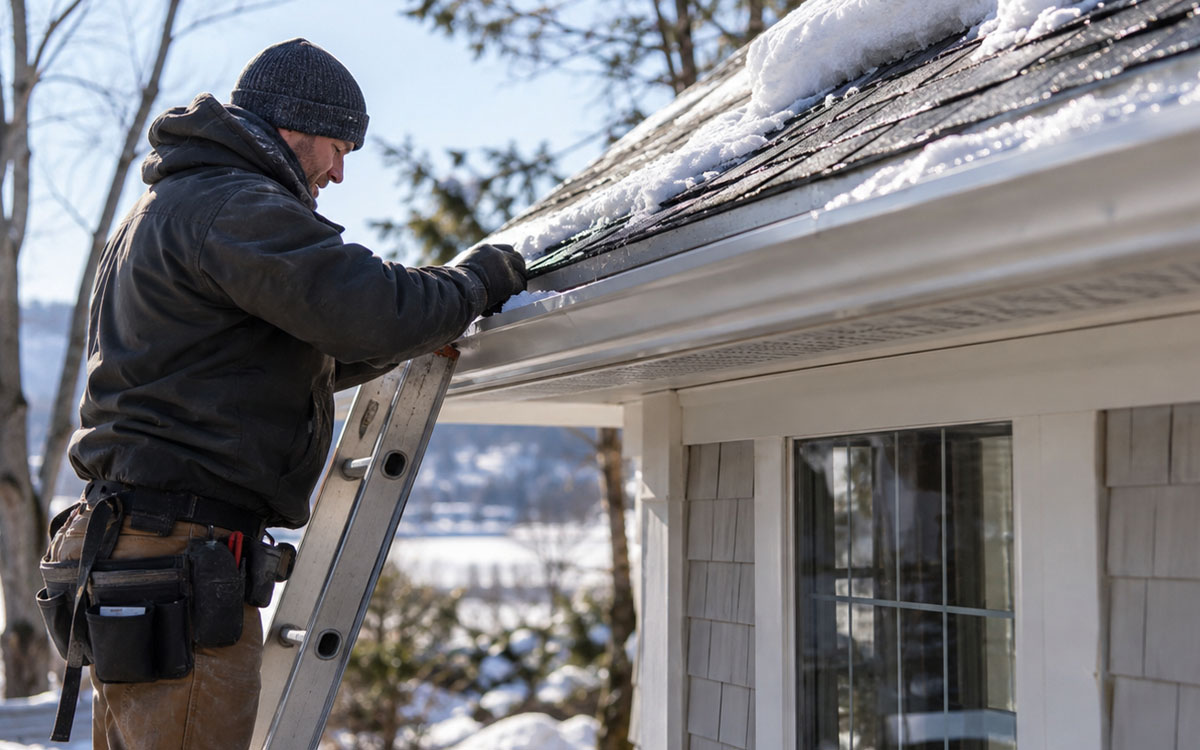
Winters in Massachusetts test every roof. Heavy, wet snow, freeze-thaw cycles, and wind-driven rain from nor’easters create conditions that let ice creep under shingles and into soffits, valleys, and living spaces. While icicles may look picturesque, they often indicate a roof assembly that warms unevenly and drains poorly. The solution is rarely a single product. Instead, decisions about air sealing, insulation, ventilation, and waterproofing layers determine whether meltwater drains harmlessly or refreezes at the eaves. This article explains how the key components work together, what commonly goes wrong on homes with dormers and skylights, and which details to discuss with a roofer before the next storm.
1. Ice Dams on Massachusetts Roofs Start With Heat, Not Snow
Ice dams form when heat escaping from the house warms the underside of the roof deck, melts snow farther up the roof, and sends water toward cold eaves that extend beyond the heated wall. The water refreezes at the drip edge and inside gutters, forming a ridge that traps additional meltwater. This pooled water can work beneath asphalt shingles and into the roof deck, wetting the sheathing and staining interior drywall near exterior walls and ceilings. North-facing slopes and shaded valleys often experience the most severe icing because they receive less sunlight and hold drifting snow against the shingles longer.
Many homeowners start researching roofing services for homes in Massachusetts only after icicles appear, but addressing heat loss and airflow before winter can provide better protection. A roof that remains uniformly cold from soffit to ridge sheds snow more evenly, reduces melting in the middle of the roof, and limits refreezing at the eaves. Achieving that balance depends on what happens beneath the shingles just as much as the shingles themselves.
2. Where the Assembly Fails: Attic Bypasses, Soffit Blockage, and Competing Vents
One of the most common problems is warm, moist air reaching the roof deck through unsealed openings. Gaps around recessed lights, a leaking attic hatch, plumbing chases, and chimney surrounds allow conditioned air to move across the rafters. Bathroom fans and kitchen range vents that discharge into the attic make the problem worse by releasing moisture beneath the roof sheathing. At the same time, soffit vents may get blocked when fiberglass batts or blown-in cellulose are pushed into the eaves without proper rafter baffles. Bird nests and heavily painted perforated aluminum panels can also restrict intake airflow. Without clear soffit openings and effective ridge ventilation, air circulation weakens, and the roof deck warms unevenly.
Ventilation components can also work against one another. A ridge vent without enough soffit intake may draw poorly and can pull air from nearby openings, such as gable vents, instead of from the lower eaves. Powered gable fans may interfere with ridge ventilation by pulling air from the ridge rather than moving it evenly beneath the roof deck. On a 1950s Cape with knee walls and short overhangs, air movement at the eaves and blocked ventilation channels can limit intake. On a house with several dormers, step flashing may be installed correctly, yet snow trapped in nearby valleys can repeatedly melt and refreeze because warm air is leaking into the surrounding roof assembly.
3. Details That Break the Ice Dam Cycle: Air Sealing, R Value, and Balanced Ventilation
Start by preventing indoor heat from reaching the roof deck. Seal openings around recessed lights, top plates, and plumbing penetrations with appropriate foam or sealant. Insulate and weatherstrip the attic hatch or access door so warm air doesn’t rise freely into the attic. Route bathroom and dryer ducts outdoors through properly installed vents with backdraft dampers. Then improve attic insulation to an appropriate R-value using blown-in cellulose or loose-fill fiberglass, while keeping soffit vents open with rafter baffles that extend from the eaves upward through each bay. The goal is balanced ventilation, with clear soffit intake working together with ridge exhaust to move air consistently beneath the roof deck.
Cathedral ceilings and roofs with limited slope require additional planning. Where there is no open attic, ventilation channels can create a continuous air path from soffit to ridge between the insulation and roof deck. If conventional ventilation isn’t practical, an unvented assembly using closed-cell spray foam against the roof deck may help control heat and moisture. However, this approach usually costs more and may require additional interior work. The trade-off is straightforward. Vented assemblies can often be improved with baffles and added insulation, while unvented assemblies may provide better control on complex roofs but require more careful design and a larger budget.
4. Moisture Defenses for Nor’easters: Waterproof Membranes, Drip Edge, and Flashing
Even with effective airflow, storms that bring slush and rain on top of existing snow can force water beneath shingles. Self-adhering waterproof membrane at the eaves, valleys, and roof penetrations provides an important backup when wind or ice pushes water uphill. During a complete roof replacement, the membrane should extend far enough up the slope to reach beyond the heated wall line inside the home. It should also be installed properly in valleys, around skylights, and beneath step flashing at walls. Synthetic underlayment above the membrane can resist tearing and wrinkling better than traditional felt if it becomes wet before shingles are installed.
Metal flashing details determine where water travels. Properly sized drip edge at the eaves directs runoff toward the gutter and helps protect the fascia. Along rake edges, it helps shield the roof deck edge from driven rain. Step flashing and counterflashing around chimneys and dormer walls direct water onto the shingle surface rather than behind siding. Kick-out flashing where a roof meets a vertical wall near the eave directs runoff away from vulnerable wall corners. In valleys, open metal designs may shed snow and ice more effectively than closed shingle valleys, although the metal is more visible. The trade-off between appearance and drainage performance is worth discussing for homes exposed to heavy snow and strong winds.
When Repair Makes Sense and When Replacement Is Better
Targeted repairs can work when the shingles remain in good condition, and the roof deck is dry and structurally sound. Clearing blocked soffits, installing rafter baffles, correcting bathroom exhaust ducts, and improving insulation around the attic hatch can reduce unwanted melting without replacing the roof. If occasional leaks occur only near the eaves, a roofer may be able to remove several courses of shingles, install waterproof membrane along the roof edge, and then add new starter material, drip edge, and matching shingles. Heat cables along a small overhang may help manage a localized problem, but they treat the symptom and use electricity without addressing the underlying heat loss.
Widespread granule loss, curled shingles, brittle roofing materials, or soft decking near the eaves may indicate that complete roof replacement is appropriate. Adding another layer of shingles does not fix ventilation problems and prevents installing new waterproofing directly against the roof deck. A complete replacement allows the contractor to inspect and repair damaged sheathing, replace deteriorated fascia, extend waterproofing materials at vulnerable wall connections, and redesign ventilation so soffit intake and ridge exhaust work together effectively. Dry, moderate weather is generally preferable for this work, and coordinating roofing and insulation improvements can help ensure air sealing and ventilation details are addressed before the new roofing system is completed.
If you notice icicles forming along the eaves or faint stains appearing above exterior walls, focus first on the hidden details that control heat and moisture. Check whether soffit ventilation paths are open from the attic, confirm that bathroom fans discharge outdoors, and make sure insulation does not block rafter bays. Ask your roofer how far the waterproof membrane will extend, where drip edge and kick-out flashing are necessary, and how soffit intake and ridge exhaust will be balanced. When these components work together, a Massachusetts roof can remain colder, drier, and better prepared for demanding winter weather.