Finding water on the floor or hearing the hiss of a broken line is stressful, and the first hour matters. Quick, specific actions can limit structural damage, protect appliances, and make the professional visit faster and safer. This guide focuses on what homeowners can do right away: isolating the leak, reducing electrical and slip hazards, making a quick supply-versus-drain call, and preserving details that help the repair go smoothly. You do not need tools worthy of a contractor. A flashlight, towels, a bucket, and a calm sequence are enough to stabilize most situations until a licensed plumber arrives.
Once you have contained the immediate issue and made the area safe, schedule expert help. If you are local and need service after these first steps, you can contact Champion Plumbing for professional support.
Find and Shut the Right Valve: Main vs. Fixture Stops
Know where your main shut-off is before an emergency. Common locations include the meter box near the curb, a ball valve on the house side of the meter, or a valve inside a garage or utility closet. A ball valve turns off with a quarter turn, so the handle is perpendicular to the pipe; an older gate valve requires several clockwise turns. If a single fixture is the problem, use the angle stops under the sink or toilet to isolate that line. Turn the small oval or lever valve clockwise to close. In a burst braided supply hose scenario at a toilet, closing the toilet’s angle stop buys time without losing water to the entire house.
If the main is shut, open a nearby hose bib or a laundry faucet to bleed pressure from the lines. This reduces spray at the leak site and can slow a pinhole in copper or a split in PEX tubing. If you cannot find an interior main, you can turn the curb stop in the meter box with a meter key or an adjustable wrench. Do not force frozen or corroded valves; excessive torque can snap a stem and worsen the leak. When in doubt, keep the household off the water and wait for a pro to arrive.
Stabilize Electrical and Water Hazards Around the Leak
Water and electricity do not mix. Unplug countertop appliances near a sink overflow and move power strips or chargers off wet floors. If you have turned off the home’s water, shut down a tank-style electric water heater at the breaker so the elements do not run dry. For a gas unit, set the control to Pilot or Vacation. Keep hands dry and shoes on if you must interact with a breaker panel, and avoid standing water entirely. If a ceiling is sagging due to a leak in the supply line above, clear the area below and place a bucket. Do not push on the bulge or cut into the drywall unless you understand where the electrical runs and recessed lights are located.
Protect surfaces to reduce secondary damage. Slide foil or plastic wrap under wooden furniture legs to prevent staining. Roll up rugs, remove paper goods from floors, and lift cardboard storage boxes onto shelves. Near sinks and laundry areas, verify that GFCI outlets have not tripped due to splashing. You can reset them later, once the area is dry, but do not test the outlets while the floor is wet. The goal is to stop water movement, then remove items that wick moisture into subfloors and baseboards.
Quick Diagnosis: Supply Leak, Drain Leak, or Condensation?
Identify the leak type so the next steps are targeted. A supply leak usually continues even when fixtures are off, and it may hiss or spray at compression fittings, toilet fill valves, or braided hoses. A drain leak shows up only when water is running through the fixture, like drips at a P-trap when you drain a sink or a ceiling stain that grows during a shower. Condensation looks like beads of water on cold lines or a sweating toilet tank after long flush cycles in humid weather. For example, if the ceiling drips only when the washing machine drains, the standpipe or nearby drain stack likely needs attention, not a shut-off at the main.
Use simple checks. With all fixtures off, look at your water meter’s leak indicator. If the triangle or small dial keeps moving after you shut off the main valve at the house, you may have a valve that is not fully closing or a buried service line leak. Around traps, wrap a dry tissue on the P-trap and slip-joint nuts; a fresh wet ring reveals the source as you run water. To rule out a toilet tank leak that can confuse diagnostics, place a few drops of food coloring in the tank and wait; color in the bowl indicates a worn flapper, while water on the floor suggests a failed supply line, a cracked tank, or a wax ring issue.
Contain and Document: Steps That Save Repairs
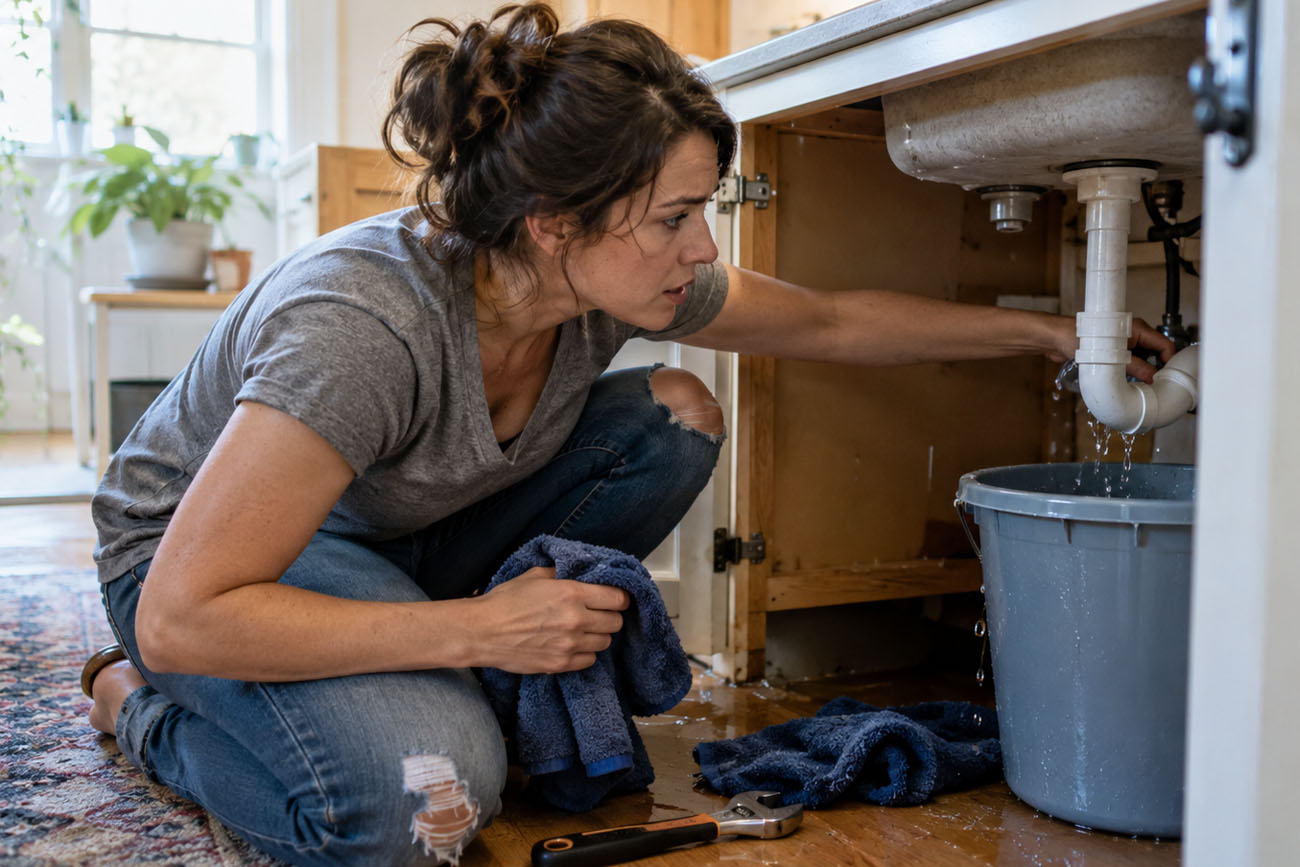
Contain what you can without creating new risks. Buckets and towels catch drips, and painter’s plastic or trash bags shield baseboards from splashback. For a pinhole in a copper line, a short-term patch with a rubber pad and a hose clamp can reduce spraying until the line is replaced. Epoxy putty rated for wet plumbing repairs can help on low-pressure cold lines, but it is not a fix for hot water lines or high-pressure bursts. Do not use chemical drain cleaners in a slow or backed-up line; they can heat up, damage PVC, and make the eventual cable or jetting service hazardous.
Good documentation speeds the repair and helps with insurance claims. Take clear photos of the leak site, shut-off positions, wet drywall edges, and any bulging paint. Shoot a quick video showing when the drip starts and stops, such as during a shower or a dishwasher drain cycle. Note the model and serial numbers on affected fixtures, such as a water heater or a toilet fill valve. If the main was off for a while, record the meter reading you saw. These details help a plumber bring the right flapper, supply hose, PRV, or repair coupling on the first visit.
After Flow Stops: Water Heater, Pressure, and Sewer Cleanouts
Once the water is off and the area is safe, address any equipment that may have been damaged by the shutdown. A tank-style water heater relies on incoming cold water to protect the tank and its components from the elements. Turn off the power at the breaker for electric units and set gas controls to Pilot. Never cap or clamp a temperature-and-pressure relief valve; if it is discharging, it indicates excess pressure or temperature that requires professional evaluation. If you suspect high pressure caused a hose burst, a simple pressure gauge at the hose bib can confirm it later. Many homes have a pressure-reducing valve near the main; if pressure exceeds manufacturer guidelines, it can stress supply lines and toilet fill valves.
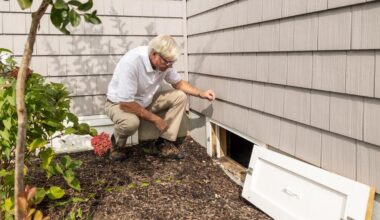
In the event of a sewer backup, avoid running water anywhere in the house. Locate the outdoor cleanout, usually a white- or black-capped pipe near the foundation or in a flower bed. Opening it slowly outside can allow backed-up sewage to escape outdoors rather than through a tub or floor drain inside. Do not remove an indoor cleanout cap under pressure. If a disposal is involved in a sink backup, switch it off at the wall and do not attempt to force it with tools. The trade-off here is convenience versus containment: leaving fixtures off and the main closed is inconvenient, but it keeps contaminated water out of living spaces until a professional clears the line.
Handled calmly, the first hour after a leak can prevent warped subfloors, shorted appliances, and ruined drywall. Shut the right valve, make the area electrically safe, decide whether the problem is on the supply or drain side, and contain and record what you see. Stabilizing the scene and preserving details make professional diagnosis faster and often less invasive. When help arrives, you will be ready to explain what changed when you turned valves or ran fixtures, and that clarity can shorten the visit and get your home back to normal faster.