South Florida homeowners often focus on the glass when they plan for impact windows, but the installation can matter as much as the product. In Miami’s High Velocity Hurricane Zone, wind pressures, wind‑borne debris, and driving rain expose weaknesses you cannot see from a showroom sample. The right glass, frame, anchoring pattern, and water‑management details work together as a system. This article explains which labels and approvals to look for, how to prepare openings, and what you can verify during the install. It also outlines practical trade‑offs among glass coatings and frame materials so you can match performance to your home’s exposure without guesswork.
The Codes and Ratings That Actually Matter in Miami
In Miami‑Dade and Broward counties, impact windows must be approved for the High Velocity Hurricane Zone. Look for a current Miami‑Dade Notice of Acceptance (NOA) or Florida Product Approval listing that specifically indicates HVHZ suitability. Product test standards such as TAS 201 (large‑missile impact), TAS 202 (air and water infiltration), and TAS 203 (cyclic pressure) confirm that the unit was tested as a system. The label should also show design pressure (DP) ratings that align with your home’s calculated wind loads, which vary by height, exposure, and proximity to the coast.
A common mistake is assuming that tempered glass is the same as laminated impact glass, or that any “hurricane” sticker applies to all models and sizes. Ask to see the exact NOA or Florida Product Approval number for the windows being ordered, then match it to the shop drawings for your sizes and configurations. For a plain‑English overview of what qualified installers in Miami’s HVHZ typically document and deliver, you can learn about SafeGuard Impact Windows, Doors & Roofing and how code‑driven approvals translate to details on site.
Preparing the Opening: Bucks, Substrates, and Water Paths
Performance starts with the wall opening. On many concrete block (CBS) homes with stucco returns, installers add or replace “bucks” (framing that lines the rough opening) to create a flat, plumb, and square surface and a consistent shim space around the frame. Rotten or undersized wood bucks can compress or split under load, so composite or properly treated replacement bucks are often used. At the sill, a sloped sill pan or flashing system helps collect and direct incidental water toward the exterior. Backer rod and a properly sized sealant joint at the perimeter allow the frame and wall to move without tearing the seal.
Consider a 1960s CBS home with out‑of‑square living‑room openings and hairline stucco cracks at the sills. If an installer forces the new frame tight to one side and fills the opposite gap with a thick bead of caulk, wind‑driven rain can pool at the low corner and find a path into the wall. The better sequence is to true the opening with solid bucks, install a pan or sloped sill detail, and maintain an even perimeter gap for shims and sealant. That preparation helps the window shed water and keeps sealant in its ideal thickness so it can flex rather than fail.
Anchoring and Sealing You Can Verify on Site
Anchors are not one‑size‑fits‑all. The NOA or product approval specifies fastener type, corrosion resistance, location, and embedment for each wall type, whether concrete block, poured concrete, or wood framing. In coastal environments, stainless or appropriately coated anchors help resist salt‑air corrosion. You can spot‑check that fasteners are installed where the drawings show them, that edge distances are respected, and that the installer is not substituting shorter screws. Over‑tightening can deform frames; under‑driving reduces clamping force. Both reduce the unit’s tested capacity under cyclic wind loads.
Sealing should follow a two‑stage concept: a backer rod to control joint depth and shape, then a compatible sealant (often polyurethane or neutral‑cure silicone meeting ASTM C920) that is tooled to bond to the frame and wall while leaving room for movement. A common failure point is sealing over weep slots or blocking drain paths with expanding foam intended for interior use. Another is applying a thick, pretty bead that quickly skins but never cures in humid weather. Ask which sealant is being used, check that substrates are clean, and confirm that any primers required by the manufacturer are on hand.
Glass, Frames, and Energy Performance Trade‑offs
Impact resistance comes from laminated glass, which sandwiches one or more interlayers (commonly PVB or, for stiffer post‑break performance, SGP) between glass panes. Low‑E coatings and tints influence solar heat gain coefficient (SHGC), visible light, and interior glare. In South Florida, choosing a lower SHGC can reduce cooling loads and make west‑facing rooms more comfortable on summer afternoons. The trade‑off is that darker tints can dim interior spaces and affect nighttime visibility. Laminated glass also influences sound control; look for STC ratings if road or aircraft noise is a concern.
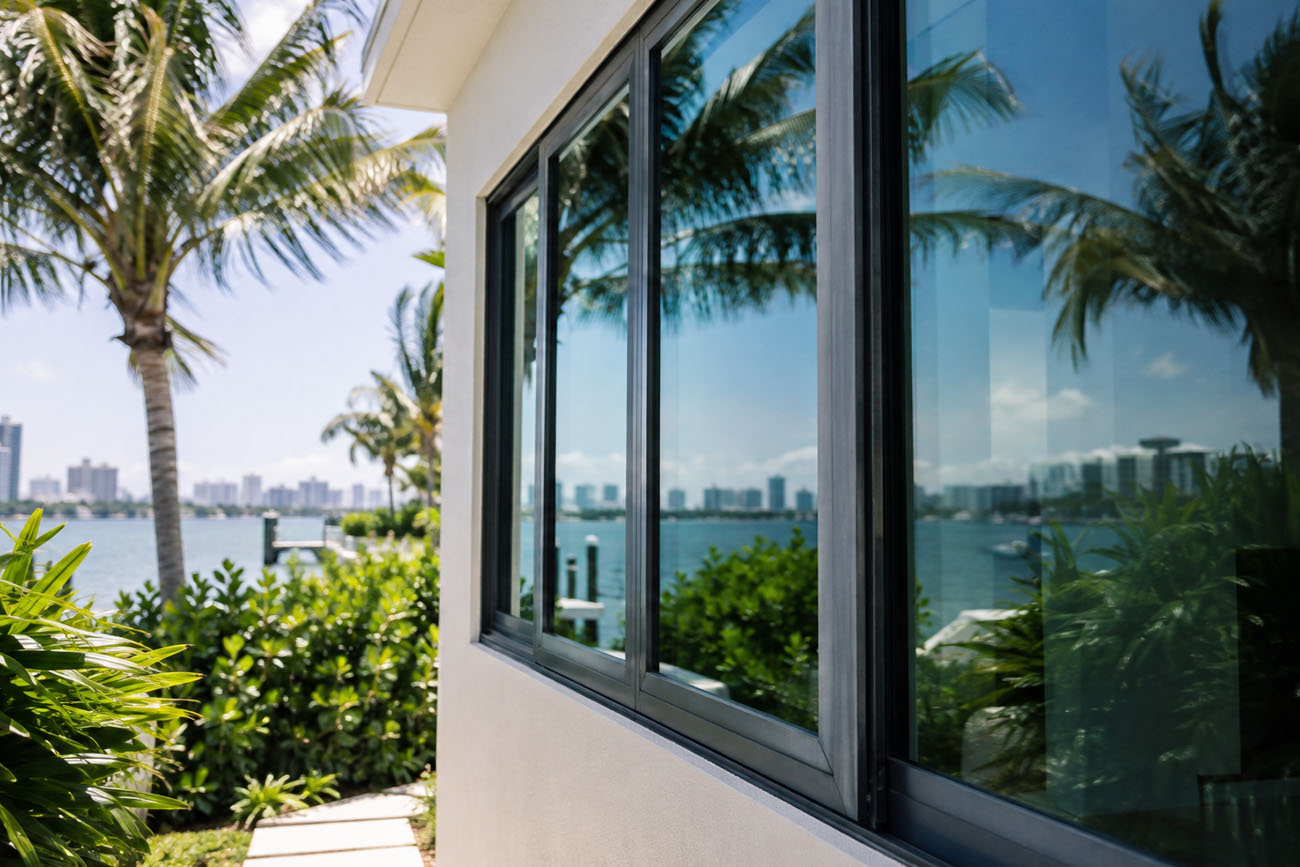
Frames influence both durability and energy behavior. Aluminum frames can be slim and strong, with options for thermal breaks that reduce heat transfer. Vinyl (uPVC) frames typically improve insulation but have different expansion characteristics and may need reinforcement for larger openings. Near salt spray, hardware and fasteners benefit from marine‑grade finishes, and periodic rinsing helps reduce corrosion. A coastal townhouse, for example, might pair a thermally broken aluminum system with stainless hardware and a low‑E glass tuned for western exposure, accepting a slightly higher upfront cost to balance strength, maintenance, and comfort.
Questions to Ask and What to Document Before Work Starts
Before ordering, request the product approval numbers, shop drawings for your exact sizes, and confirmation that your wind zone and exposure were used to select DP ratings. Clarify how openings will be prepared, which buck materials will be used, and whether a sill pan or equivalent detail is planned. Confirm permitting, inspection timing, debris removal, and how interiors and landscaping will be protected. If you live in a multifamily building, coordinate HOA approvals and access restrictions, and ask about rain‑day contingencies to protect partially opened walls if a storm cell moves through mid‑install.
Keep labels and approval stickers on units until the final inspection, save serial numbers and NOA references with your permit closeout, and follow the manufacturer’s cure time before pressure‑washing or painting near new sealant joints. Operate every sash, check that weep holes are clear, and verify bedroom egress windows still meet opening requirements after replacement. A short maintenance routine goes a long way: rinse coastal frames periodically, clear sand from tracks, and recheck perimeter sealant during the first year. Those simple steps help the window system you invested in perform the way it was tested when the next storm season arrives.
Hurricane‑ready windows are more than panes of laminated glass. In Miami’s HVHZ, performance depends on code‑approved products, installation that follows the specific NOA, and water‑management details you can see and verify. Matching glass coatings to your exposure, choosing frame materials that suit your environment, and insisting on proper opening preparation and anchoring create a system that resists impact, withstands pressure, and sheds rain. Ask to see approvals, confirm the details before work begins, and document the finished job. Those steps help ensure your upgrade is not just new, but truly storm‑ready.