Major design changes in a custom renovation can look simple on paper: open the kitchen, add a bathroom, or extend a wall. In practice, those changes often encounter hidden constraints that shape the final plan and project schedule. Structural load paths determine whether a beam can sit flush with the ceiling. Drain slope and venting requirements limit where you can realistically place a toilet or shower. Permits and inspections also influence the timing of framing, utility work, insulation, and finishes. This article explains what to confirm before demolition by mapping the structure, understanding utility limitations, planning for approvals, and protecting the building envelope. It also includes two realistic scenarios showing how early decisions can prevent costly surprises during construction.
Map the Structure Before You Move a Wall
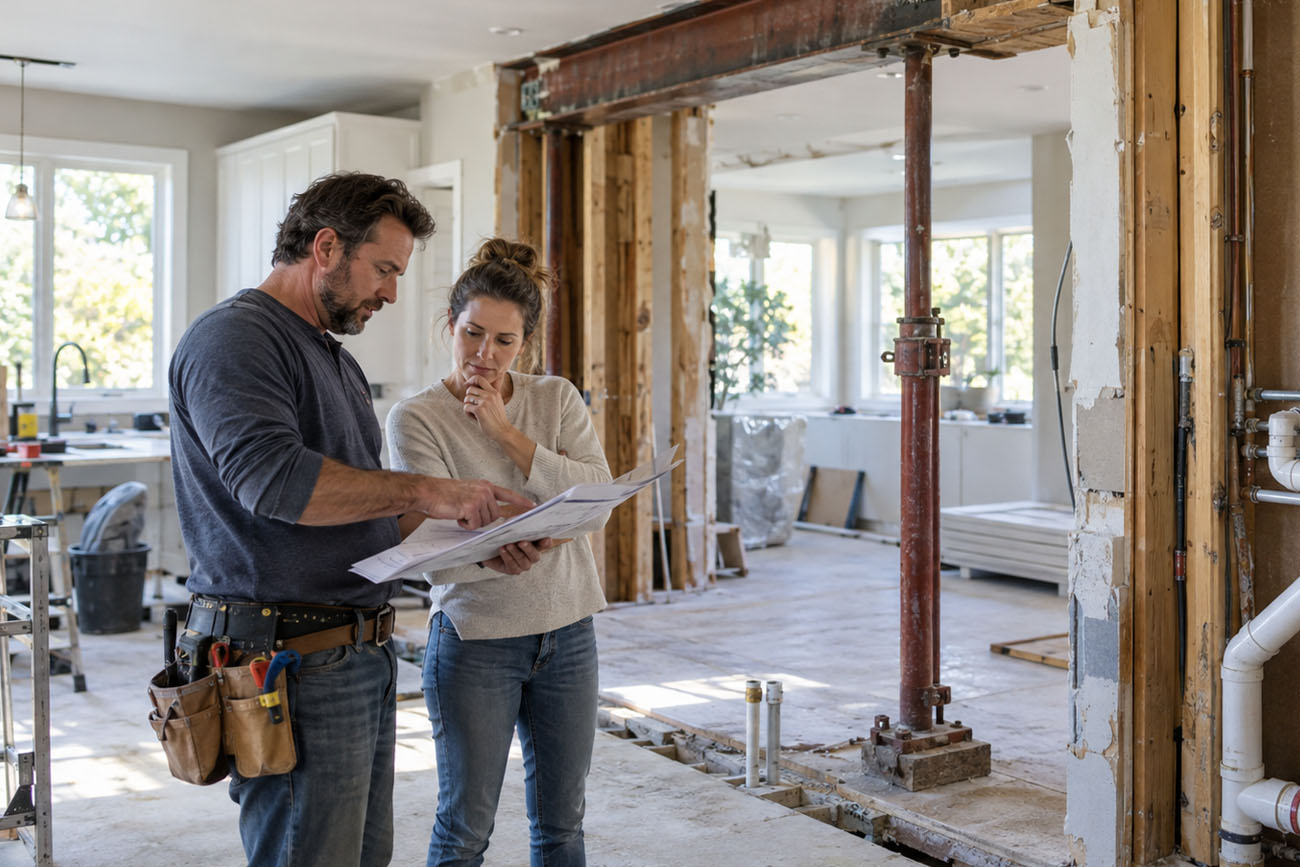
A wall that appears nonstructural can still carry more weight than expected. Begin by identifying joist direction, bearing points, and how loads transfer through the framing to the foundation. If you plan to remove a bearing wall, a structural engineer should determine the appropriate replacement beam and specify any temporary support needed during demolition. A general contractor such as Building Dreams Contracting can coordinate engineering requirements, beam pockets, joist hangers, and framing adjustments so the new structure connects properly with the existing building. Mapping these details early can reduce the risk of structural movement, ceiling cracks, and unexpected changes once demolition begins.
Beam depth and support strategy also influence appearance and available headroom. A dropped beam is generally easier to install but creates a visible soffit below the ceiling. A flush beam can preserve a level ceiling but may require rehung or modified joists and additional framing within existing walls. Every beam reaction also needs adequate support below. Depending on the structure, this may require posts, foundation modifications, or additional footings. If support must pass through a finished basement, you may need to balance open floor space against structural requirements. Making these decisions early helps the architectural layout and structural plan work together.
Utilities Quietly Dictate Kitchen and Bath Layouts
Plumbing, electrical, and HVAC systems often determine where fixtures and appliances can realistically be located. Toilets require appropriately sized drain piping and enough slope to move waste toward the main stack. Over a long horizontal run, that slope can significantly affect floor depth and fixture placement. significantly affect floor depth and fixture placement. Venting requirements also influence how far fixtures can be positioned from vent connections and may require thicker walls to conceal piping.
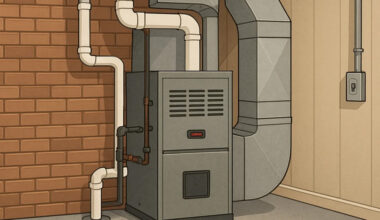
Gas lines must be sized for the total demand of connected appliances when you add or relocate equipment. Electrical planning should include panel capacity, available breaker space, required dedicated circuits, ground-fault protection, arc-fault protection, and higher-voltage circuits for certain appliances. HVAC modifications may require changes to supply ducts, return air pathways, or ventilation equipment to maintain balanced airflow.
Reusing existing utility routes can save money and reduce disruption, but relocating them may create a more functional layout. The key is to compare the long-term benefit of a better room arrangement with the cost and complexity of opening floors, walls, or ceilings to move plumbing, electrical, or mechanical systems.
Permits and Inspections Drive Schedule Milestones
Many renovation decisions require review before construction begins. Depending on the project and local requirements, permit documents may include a site plan, floor plans, elevations, structural notes, and details showing beams, headers, foundations, and other structural components. Plans may also need to address energy requirements, bedroom egress, smoke and carbon monoxide alarms, stair dimensions, guard requirements, and safety glazing.
Inspections often occur at specific stages, including foundation work, framing, plumbing, electrical, HVAC installation, insulation, and completion. Missing required handrail backing or using the wrong type of glazing near a bathtub can cause delays and rework. Planning these details in the drawings is more efficient than correcting them after construction has progressed.
Starting demolition before permits are approved can also create problems. A stop work order may delay the project and leave parts of the building exposed or unfinished. Zoning requirements can create additional constraints. Easements may limit where an addition can be built, while tree protection areas may restrict excavation. Historic areas may also have rules governing exterior materials, windows, or architectural features. Confirming approval requirements and expected review times helps the project team coordinate engineering, materials, and labor more effectively.
Protect the Envelope During Exterior Changes
Whenever a renovation alters the exterior shell, plan weather protection as carefully as the structural work. Sheathing, weather-resistant barriers, flashing, roofing materials, and openings around windows and doors must work together to keep water outside the building.
Install wall coverings and flashing in a sequence that directs water outward rather than trapping it behind finishes. Window openings need properly designed sill, jamb, and head flashing, while roof-to-wall intersections require careful detailing to reduce the risk of leaks. Protect exposed roof sheathing promptly when rain or other weather is possible.
If the renovation improves air sealing, coordinate the air barrier and vapor control strategy with insulation, electrical, plumbing, and drywall work. Penetrations made after sealing can reduce performance if they are not repaired properly. In areas where air leakage testing is required, finding and correcting gaps before drywall installation is much easier than addressing them after finishes are complete.
Two Common Scenarios and the Key Decisions to Make Early
Consider a kitchen renovation that removes the wall between the kitchen and dining room. The first step is determining whether the wall carries structural loads and where the joists terminate. From there, decide whether a dropped or flush beam is appropriate and determine how posts or other supports will transfer loads to the foundation. Existing ductwork may run through the wall and require a new route. The gas supply to the range may need adjustment, while switching to an induction cooktop could require additional electrical capacity. Flooring transitions also need planning to keep the finished surface level after the wall is removed. Coordinate lighting, switches, and ceiling wiring before closing ceilings to minimize unnecessary patching.
A basement suite with a new bedroom and bathroom presents a different group of constraints. A bedroom may require an appropriately sized egress window, which could involve modifying the foundation. Drainage and waterproofing around the new opening need careful planning to prevent water from collecting near the foundation. The bathroom layout should work with the existing plumbing stack whenever possible so drain slopes can be maintained without unnecessarily raising the floor. Existing ducts and low ceilings may force a choice between rerouting mechanical systems or accepting a lowered ceiling in certain areas. After construction, HVAC balancing, electrical labeling, and final adjustments help ensure the new space performs as intended.
Build the Remodel Around Known Constraints
The smoothest renovations begin with a clear understanding of structural loads, utility pathways, drainage, ventilation, building envelope details, and approval requirements. Before demolition starts, identify these limits, decide which tradeoffs are acceptable, and incorporate them into the plans.
Ask the project team for a schedule showing how engineering, permits, long-lead materials, inspections, and weather-sensitive work fit together. Treat temporary weather protection and moisture control as essential construction tasks, not optional precautions. Keep written records of important decisions so the contractor, designer, and homeowner remain aligned throughout the project.
Clear planning at the beginning can reduce changes, delays, and unnecessary repairs later. When you consider structural, mechanical, electrical, plumbing, and code requirements together, the finished space is more likely to look right, function well, and perform reliably for years.